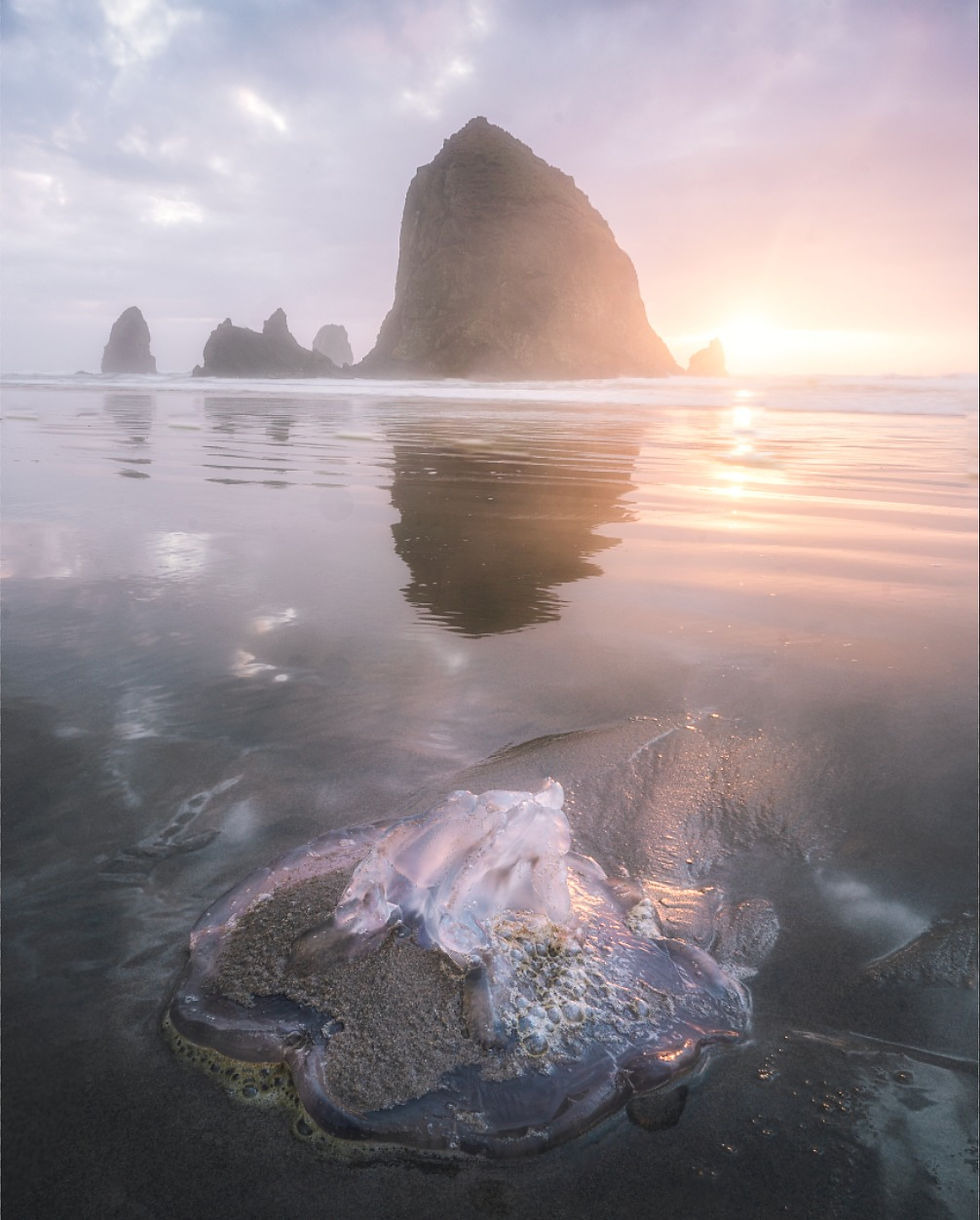
The Orton effect is a popular technique that transforms ordinary images into dreamlike masterpieces, imbuing them with a soft, ethereal glow. In this comprehensive guide, we'll explore how to achieve this enchanting effect step-by-step using both Lightroom and Photoshop. Whether you're a budding photographer eager to enhance your editing skills or a seasoned pro seeking to elevate your artistic vision, mastering the Orton effect will undoubtedly add a captivating allure to your photographs.
1. Creating the Orton Effect in Lightroom:
Step 1: Luminance Mask Creation:
Begin by opening your image in Lightroom and navigating to the "Mask" menu in the "Develop" module.
Select "Create Luminance Mask" from the dropdown menu. This will generate a luminance mask that we will use to target the highlights in your photo.

Adjust the luminance mask by dragging the left end of the slider to the right to affect just the highlights, ensuring that the effect is applied selectively to the brightest areas of the image.

Step 2: Adjusting Exposure and Contrast:
With the luminance mask active, navigate to the "Basic" panel in the "Develop" module.
Increase the exposure slider by approximately 15 to brighten the image and add luminosity.
Boost the contrast slider by around 20 to enhance the overall contrast and depth of the image.
To prevent blowing out the brightest whites while increasing brightness, decrease the highlights slider by 15-20.

Step 3: Creating the Glow Effect:
To achieve the soft glow characteristic of the Orton effect, navigate to the "Effects" panel in the "Develop" module.
Decrease the "Dehaze" slider to around -10 to soften harsh edges and enhance the dreamy atmosphere.
Reduce the "Clarity" slider to -15 to further soften the image and create a diffused look.
Increase the "Texture" slider by approximately 20 units to add a subtle tactile quality and enhance the overall luminosity of the image.

2. Applying the Orton Effect in Photoshop:
Step 1: Importing the Photo into Photoshop:
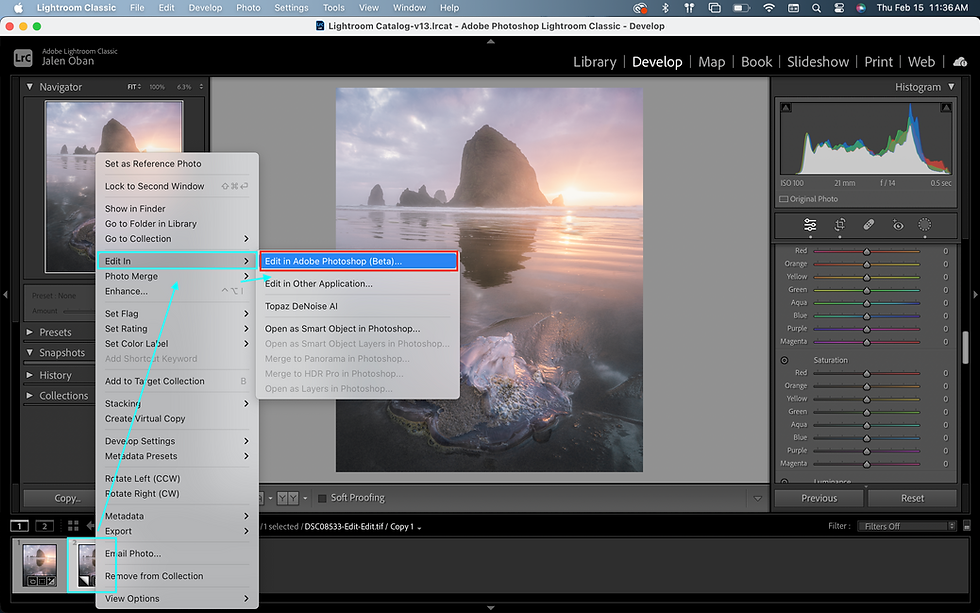
After completing the initial edits in Lightroom, export the image to Photoshop by right-clicking on the image, and selecting "Edit In" > "Edit in Adobe Photoshop" from the Lightroom menu.
Step 2: Duplicating the Background Layer:
In Photoshop, duplicate the background layer by pressing Ctrl/Cmd + J. This creates a duplicate layer to work on, preserving the original image.

Step 3: Adding the Blur Effect
Navigate to Filter > Blur > Gaussian Blur.
Set the blur amount to equal or close to the number of pixels your sensor has (ex. 24mp).
This adds softness to the effect and helps create that ethereal glow.

Step 4: Adjusting Brightness and Contrast:
Navigate to Image > Adjustments > Brightness/Contrast.
Increase the brightness slider to around +50 to further enhance the luminosity of the image.
Increase the contrast slider to approximately +70 to add depth and richness to the image.

Step 5: Refining with Layer Mask:
Select the Blue Layer in the RGB channels to target the highlights.

Create a new layer mask and adjust its opacity to between 5%-20% to fine-tune the intensity of the Orton effect, ensuring it blends seamlessly with the rest of the image.

Through subtle adjustments and creative experimentation, we've transformed ordinary images into something more unique. I encourage you to continue exploring and experimenting with the Orton effect, allowing your creativity to flourish and your imagination to soar. Remember, the beauty of photography lies in the journey, so embrace it with open arms and let your artistic spirit guide you.
Comments